


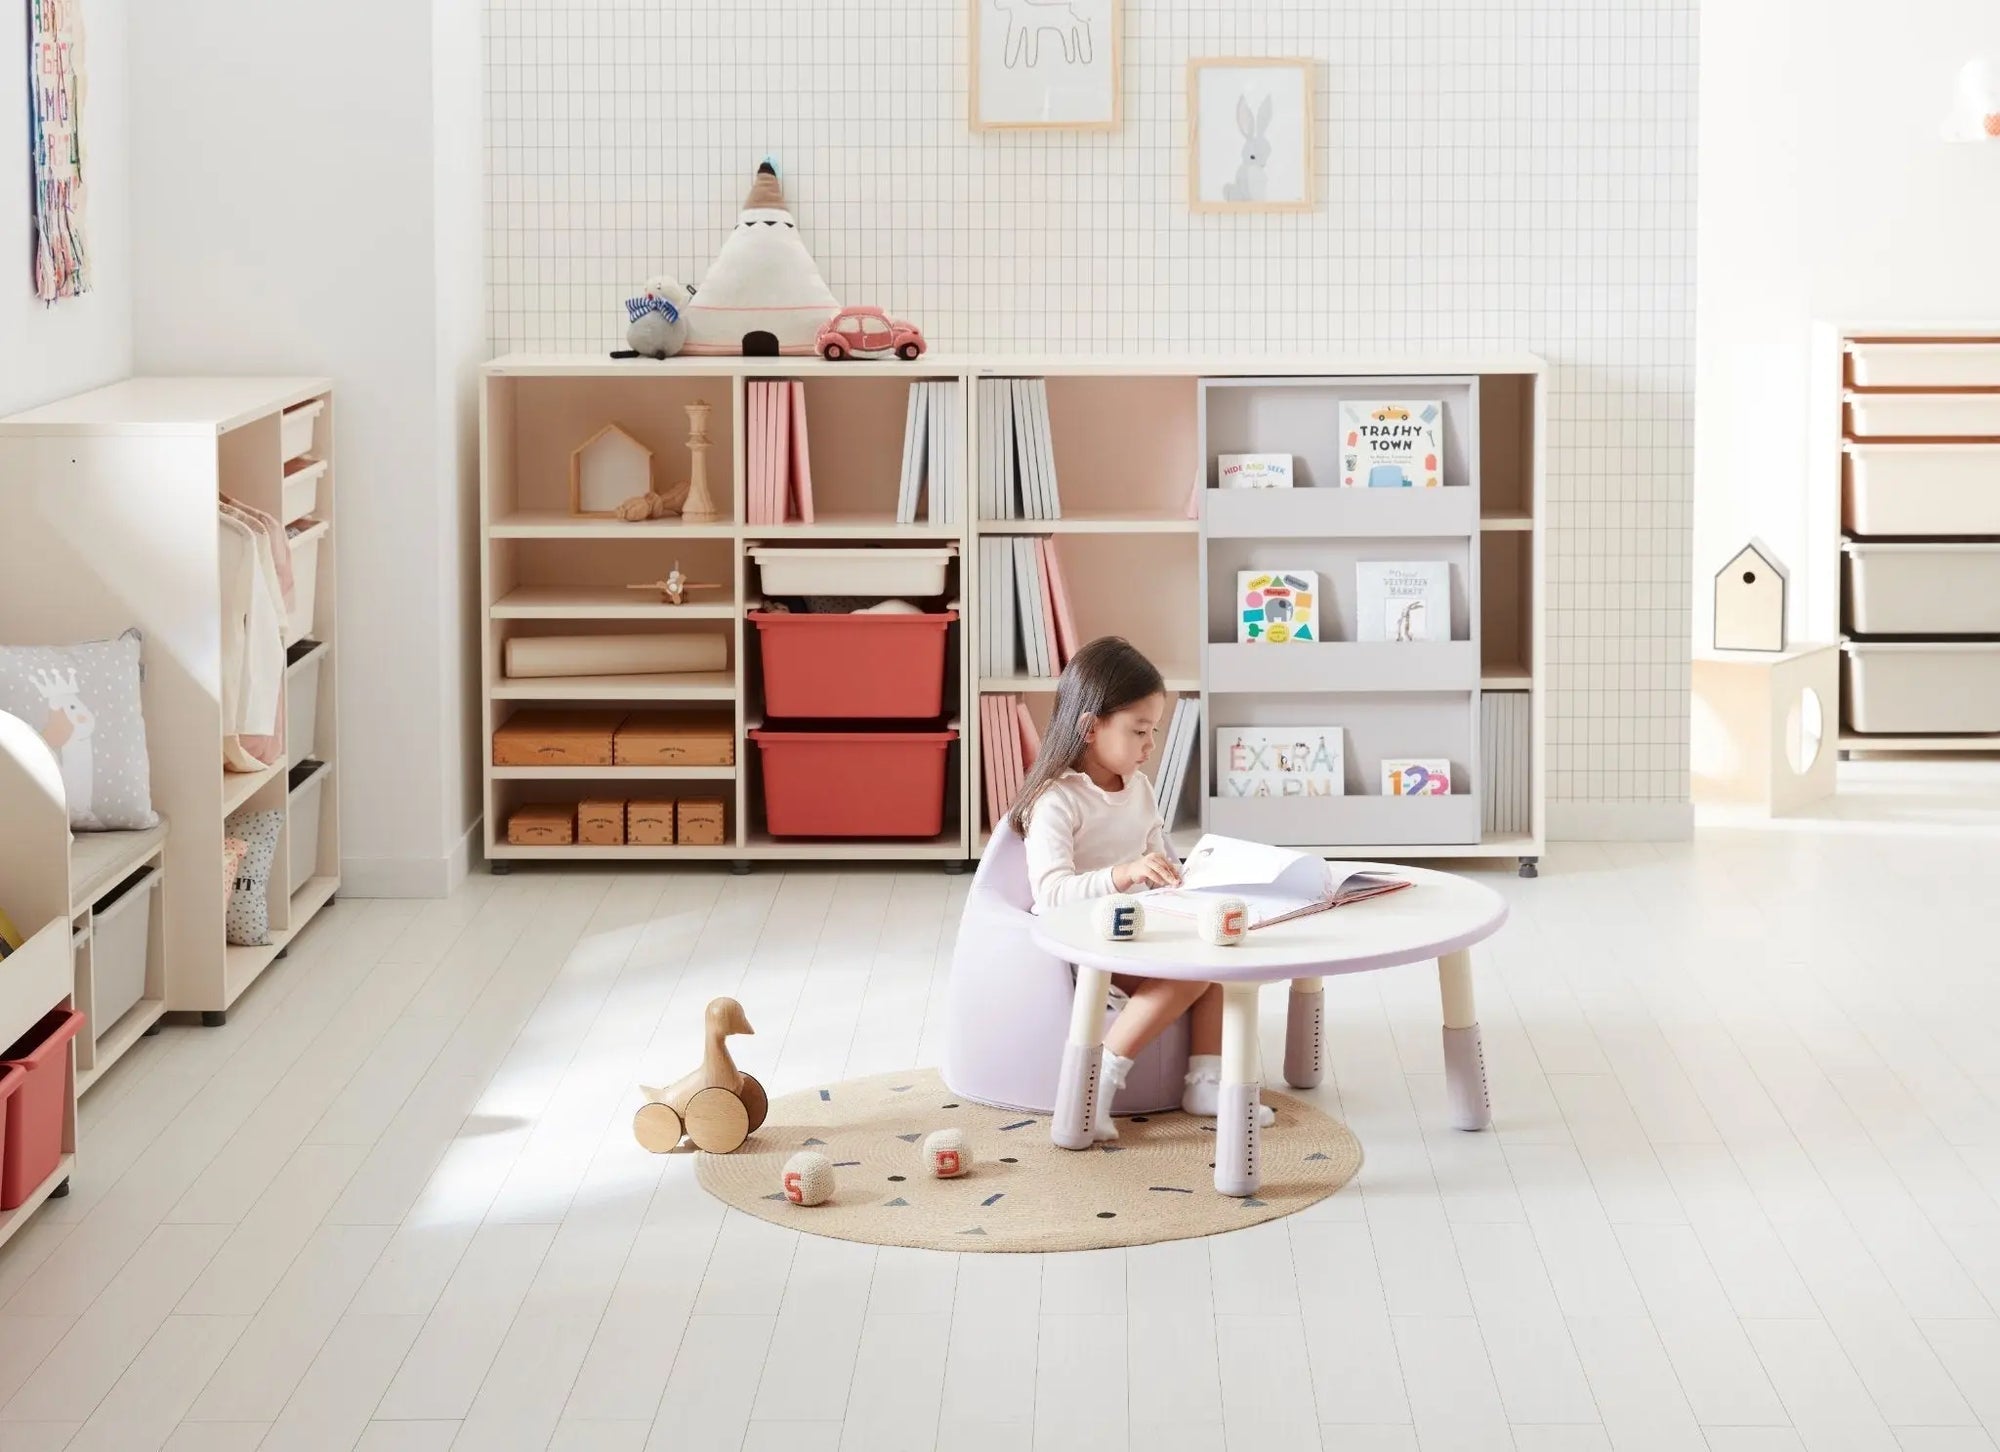
Welcome to the baby enRoute blog, your go-to source for creating the perfect, functional space for your little ones! Today, we're thrilled to guide you through the assembly of a truly fantastic and versatile piece for any child's room: the iloom Eddi Kids Sliding Bookshelf (Model HSFS123).

This isn't just any bookshelf; it's a practical and stylish solution designed to grow with your child. The iloom Eddi Kids line, including this Sliding Bookshelf (슬라이딩 책장), stands out for its "optimized use environment," "system configuration and expansion," and "reasonable price". Let's get this essential furniture piece ready for all those cherished storybooks, favorite toys, and endless adventures!

What's in Your Boxes? (HSFS123 - Composition: 4 boxes)
Before we begin the assembly journey, let's ensure you have all the components ready. The iloom Eddi Kids Sliding Bookshelf comes thoughtfully packed in four boxes. Here’s a breakdown of the parts you’ll find for the main body and the pre-assembled sliding door (도어 - 완조립):
Bookshelf Body Components (HSFS0123H)
- Top Plate (위판): 1 (IV color)
- Bottom Plate (밑판): 1 (IV color)
- Fixed Shelf A (고정선반A): 1 (IV color)
- Fixed Shelf B (고정선반B): 1 (IV color)
- Movable Shelf (이동선반): 2 (IV color)
- Stopper (스토퍼): 2 (GREY color, for the top rail)
- Panel Adapter (판넬어댑터): 2 (WH color)
- Guide (가이드): 2 (GREY color)
- Sliding Rail (슬라이딩레일): 2 (Roller type)
- Countersunk Screw (접시나사): 6 (3.5X15, NI color)
- B-Glide (B글라이더) / Height Adjustment Bolt B-type (높이조절볼트B형): 6 (MM color)
- Washer Screw (와셔나사): 23 (3.5X15, BK color)
- Back Plate Holder (뒷판잡이): 6 (Corner type, XX color)
- Countersunk Screw (접시나사): 6 (3x20, NI color)
- Countersunk Screw (접시나사): 2 (3.5X35, BK color)
- Dowel A (다보A): 4 (NI color)
- Dowel B (다보B): 4 (NI color)
- Connecting Bolt (커넥팅볼트): 2 (M4X22, NI color)
- Connecting Nut (커넥팅너트): 2 (5X15, NI color)
- Cover Hood (커버후드): 16 (05용, PO color)

Bookshelf Side and Middle Plates (HSFS0123V)
- Left Side Plate (측판L): 1 (IV color)
- Right Side Plate (측판R): 1 (IV color)
- Middle Plate (중판): 1 (IV color)
Bookshelf Back Plate (HSFS0123B)
- Back Plate (뒤판): 1 (IV color)
Sliding Door (HSFS0123D)
- Sliding Door (Pre-assembled) (슬라이딩책장 도어 (완조립)): 1

Step-by-Step Assembly: Bringing Your Bookshelf to Life!
The assembly process involves two main parts: first, building the main body (몸통), and then integrating the pre-assembled sliding door (도어).
1. Assembling the Main Body (Refer to HSFC086 Assembly Guide)
Follow the detailed diagrams in the assembly guide for the main body. Pay close attention to the orientation of the parts, especially when inserting connectors like the Minifix (미니믹스) and eccentric bolts.
- Key Tip: The side panels (P1) should have two through-borings (2개의 관통 보링) at the bottom.
- Steps 1-3: Begin by assembling the base components. This includes the Minifix assembly (라믹스 조립).
- Steps 4-5: Continue building the framework with the shelves and supporting panels (P5, P6).
- Step 6: Attach the back panel (P7) to complete the main body structure.

2. Assembling the Guides (가이드)
The guides are crucial for the smooth operation of your sliding door.
- Important: Ensure the protruding part of the guide faces outwards (돌출부위가 바깥쪽에 위치하도록 조립) when assembling. Refer to the example image (조립예시) for correct orientation. This is a "direction caution" (방향 주의).

3. Assembling the Sliding Door (도어 조립 방법)
Now, let's integrate the sliding door (슬라이딩책장 도어) into the body (몸통).
- Step 1: Attach Panel Adapters: Take the two panel adapters (판넬어댑터) and attach them to the back of the sliding door using four 3.5x15 countersunk screws.
- Step 2: Insert Rollers and Stoppers: On the bookshelf's sliding rail (슬라이딩 레일), insert the components in the following order: Stopper (스토퍼) – Roller (롤러) – Roller (롤러) – Stopper (스토퍼).
- Step 3: Align the Door: Carefully align the groove on the bottom plate of the sliding door with the guide (가이드) you installed earlier.
- Step 4: Connect Rollers and Adjust: Insert the rollers into the panel adapters (판넬어댑터) that are assembled on the door's back panel. Then, use the roller adjustment device to properly adjust the gap between the door and the bookshelf body.

4. Stopper Adjustment for Smooth Operation (스토퍼 육 각렌치 조정)
This step is key to ensuring your sliding door functions perfectly.
- The stopper's position needs to be adjusted using an Allen wrench (육 각렌치).
- It's crucial to maintain the correct gap between the door and the bookshelf body, and to ensure both the left and right sides are aligned identically.
- There will be an additional guide boring (가이드 보링) for stopper adjustment. Make sure the Allen wrench adjustment part of the stopper (스토퍼 육 각렌치 조정부분) is in line with this guide boring (가이드 보링).


By following these detailed instructions, your iloom Eddi Kids Sliding Bookshelf will be perfectly assembled and ready to bring organization, functionality, and delightful style to your child's room.
Ready to explore more from iloom Eddi Kids? Browse our full collection of iloom Eddi Kids furniture, designed for optimal use in any environment, system expansion, and reasonable pricing!